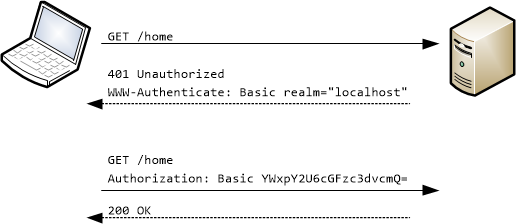
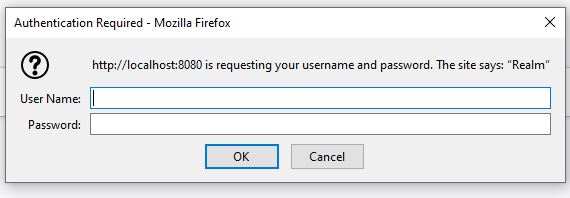
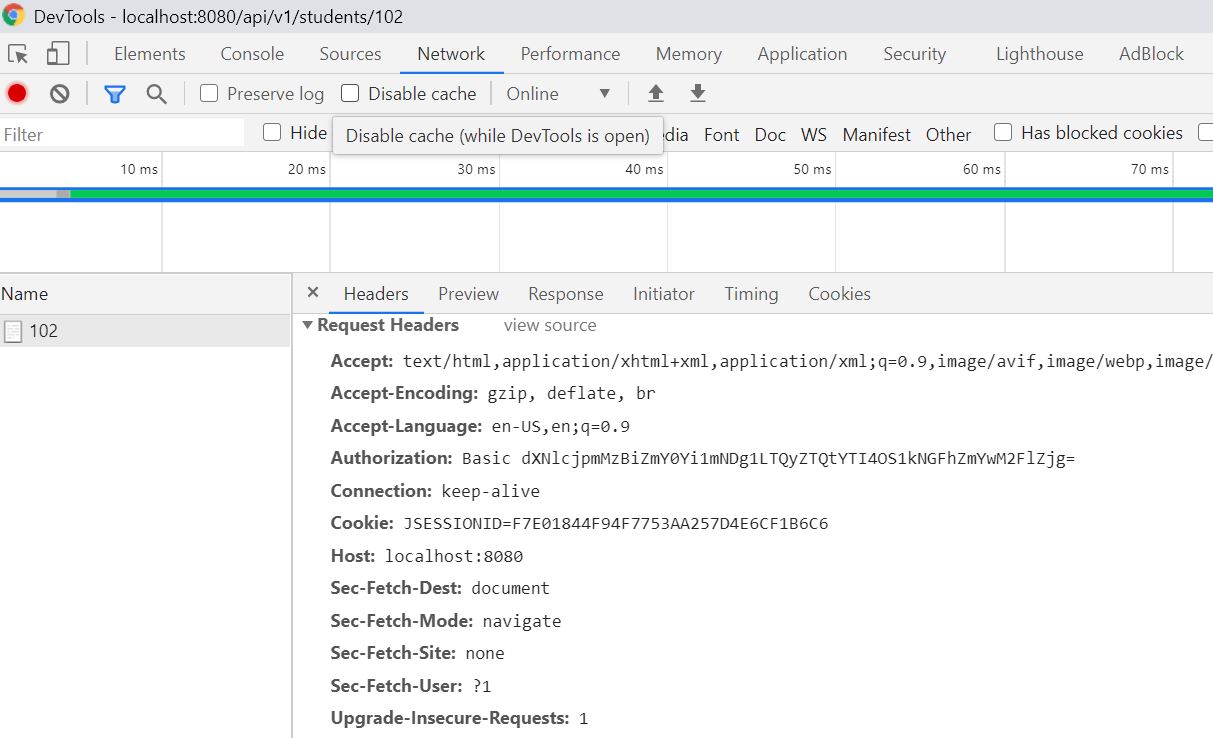
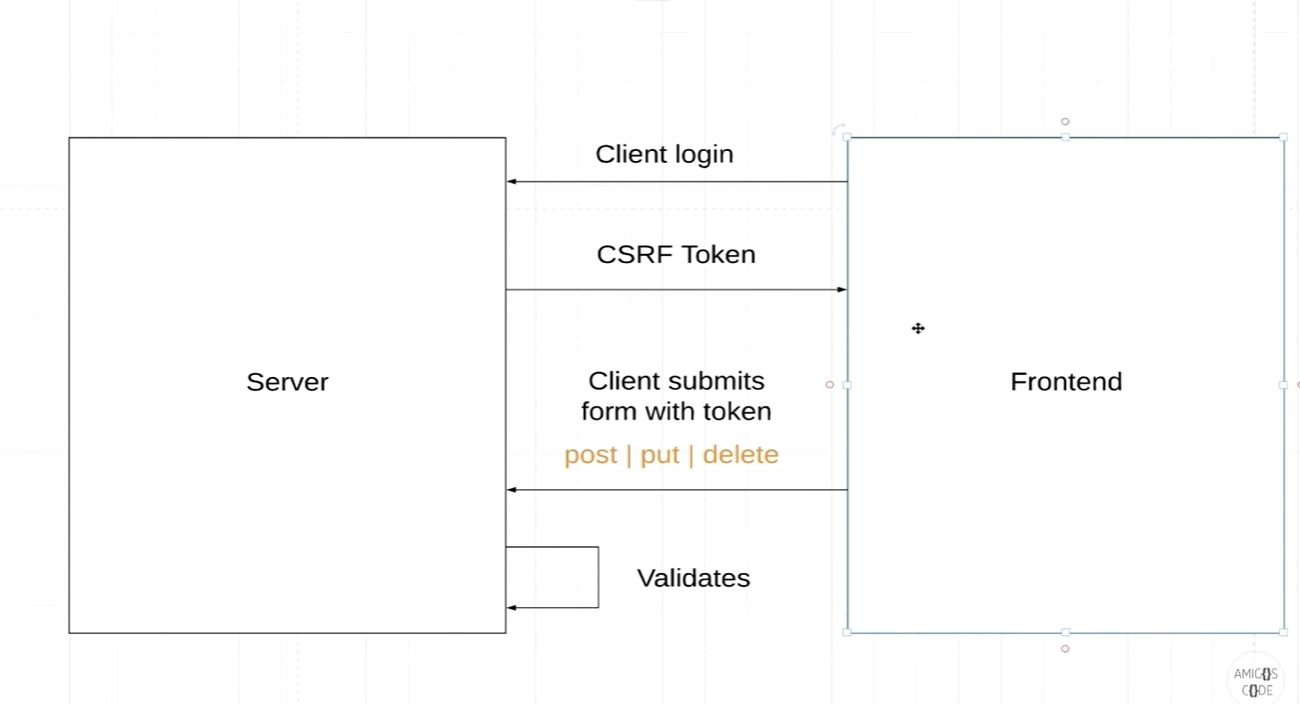
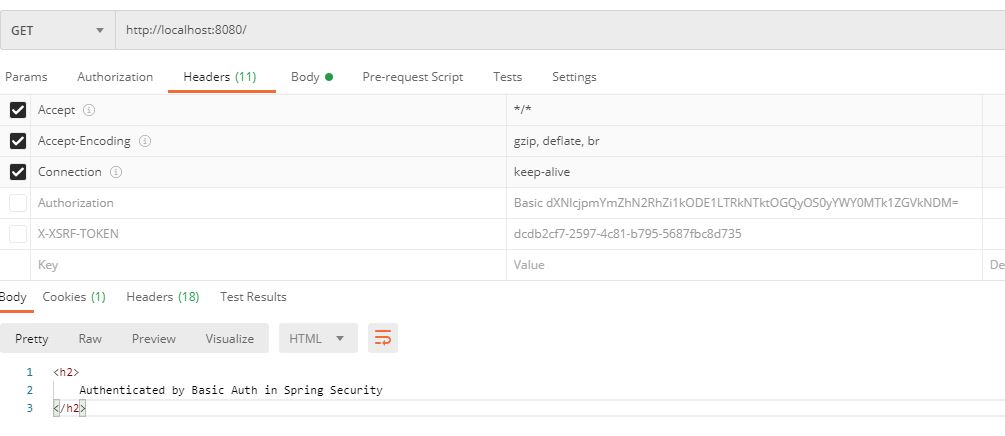
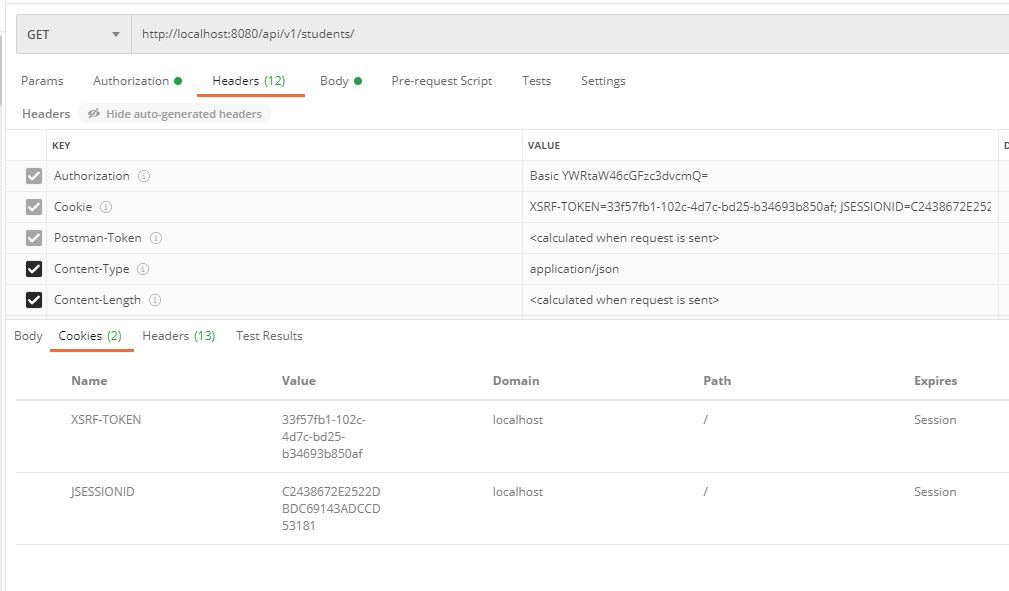
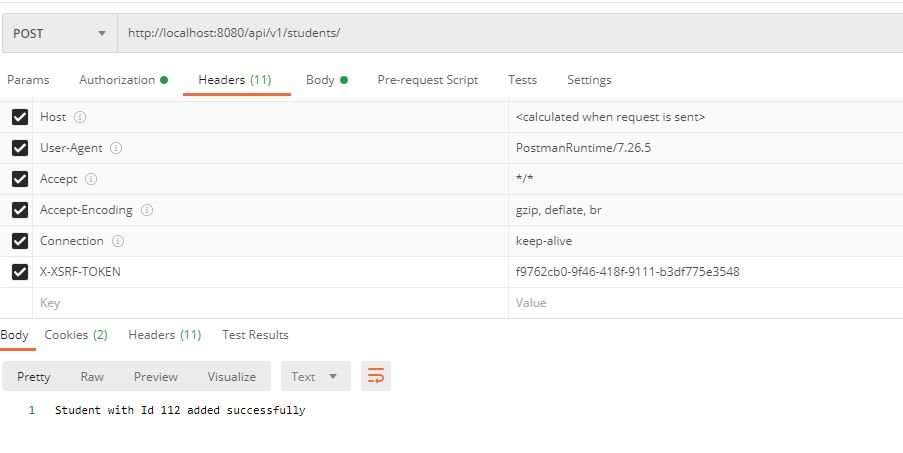
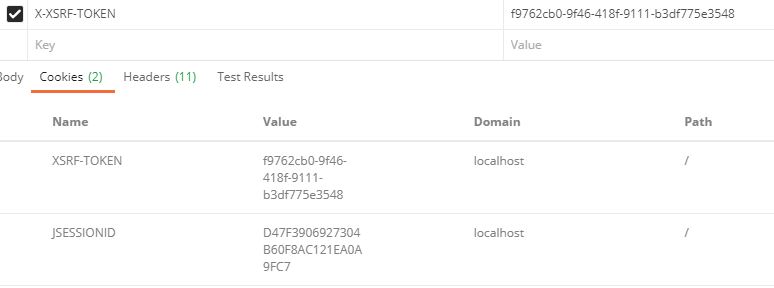
ApplicationSecurityConfig.java
@Configuration
@EnableWebSecurity
public class ApplicationSecurityConfig extends WebSecurityConfigurerAdapter {
    @Override
    protected void configure(HttpSecurity httpSecurity) throws Exception{
        httpSecurity.authorizeRequests()
                    .anyRequest()
                    .authenticated()
                    .and()
                    .httpBasic();
    }
}
@Configuration
@EnableWebSecurity
public class ApplicationSecurityConfig extends WebSecurityConfigurerAdapter {
    @Override
    protected void configure(HttpSecurity httpSecurity) throws Exception{
        httpSecurity.authorizeRequests()
                    //Whitelisting URLS
                    .antMatchers("/", "index", "/css/*", "/js/*").permitAll()
                    .anyRequest()
                    .authenticated()
                    .and()
                    .httpBasic();
    }
}
Authentication with password with no encryption
@Override
@Bean
 protected UserDetailsService userDetailsService() {
       UserDetails mugilUsrBuilder = User.builder()
              .username("Mugil")
              .password("{noop}password")
              .roles("ADMIN")
              .build();

      return new InMemoryUserDetailsManager(mugilUsrBuilder);
}
If {noop} is not used in password Spring security would throw an error asking to encode the password with password encoder as below.
java.lang.IllegalArgumentException: There is no PasswordEncoder mapped for the id “null”
PasswordConfig.java
@Configuration
public class PasswordConfig {
    @Bean
    public PasswordEncoder passwordEncoder()
    {
        return new BCryptPasswordEncoder(10);
    }
}
ApplicationSecurityConfig.java
- Inject the passwordEncoder from PasswordConfig class to ApplicationSecurityConfig
- Encode the password using instance of injected encoder in ApplicationSecurityConfig
 @Autowired
    private PasswordEncoder passwordEncoder;

    @Autowired
    public ApplicationSecurityConfig(PasswordEncoder passwordEncoder) {
        this.passwordEncoder = passwordEncoder;
    }

    @Override
    @Bean
    protected UserDetailsService userDetailsService() {
        UserDetails mugilUsrBuilder = User.builder()
                .username("Mugil")
                .password(this.passwordEncoder.encode("password"))
                .roles("ADMIN")
                .build();

        return new InMemoryUserDetailsManager(mugilUsrBuilder);
    }
ApplicationSecurityConfig.java
@Configuration
@EnableWebSecurity
public class ApplicationSecurityConfig extends WebSecurityConfigurerAdapter {
.
.
 @Override
    @Bean
    //Authentication
    protected UserDetailsService userDetailsService() {
        UserDetails adminUsrBuilder = User.builder()
                .username("admin")
                .password(this.passwordEncoder.encode("password"))
                .roles("ADMIN")
                .build();

        UserDetails regularUsrBuilder = User.builder()
                .username("user")
                .password(this.passwordEncoder.encode("password"))
                .roles("USER")
                .build();

        return new InMemoryUserDetailsManager(adminUsrBuilder, regularUsrBuilder);
    }

    @Override
    //Authorization
    protected void configure(HttpSecurity httpSecurity) throws Exception{
        httpSecurity.authorizeRequests()
                     //Whitelisting URLS
                    .antMatchers("/", "index", "/css/*", "/js/*").permitAll()
                    .antMatchers("/api/**").hasRole("ADMIN")
                    .anyRequest()
                    .authenticated()
                    .and()
                    .httpBasic();
    }
.
.
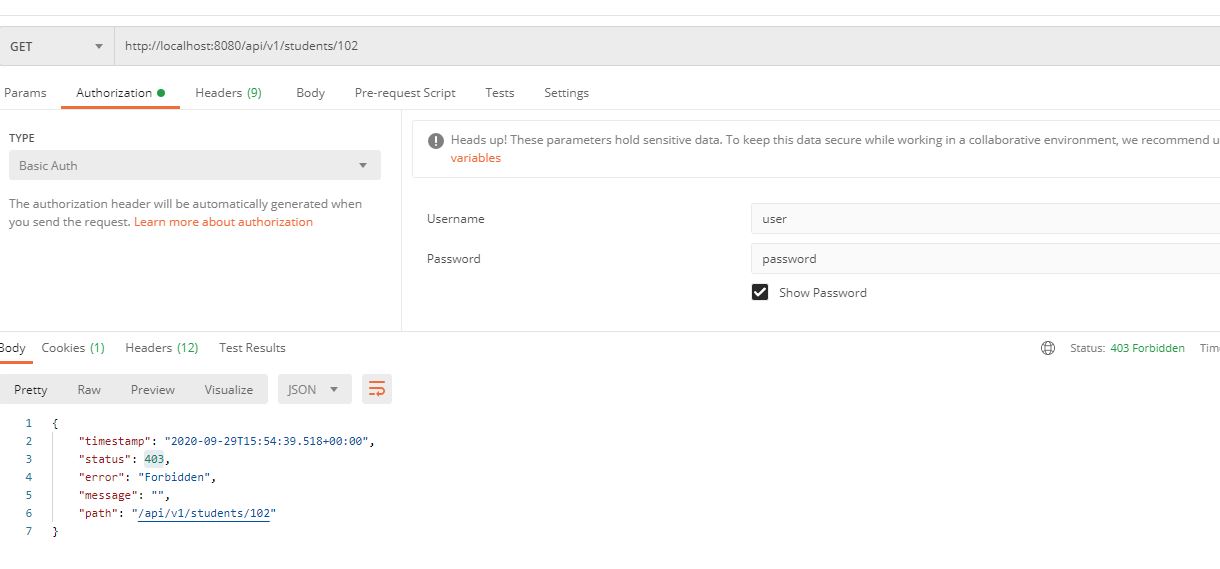
- In the above code we have added two roles – ADMIN and USER
- Both were authenticated to access the application.But to access the API the role should be ADMIN
antMatchers("/api/**").hasRole("ADMIN")
- If the user with Role USER try to access API then it would end up in 403 – Forbidden Error
Access Allowed
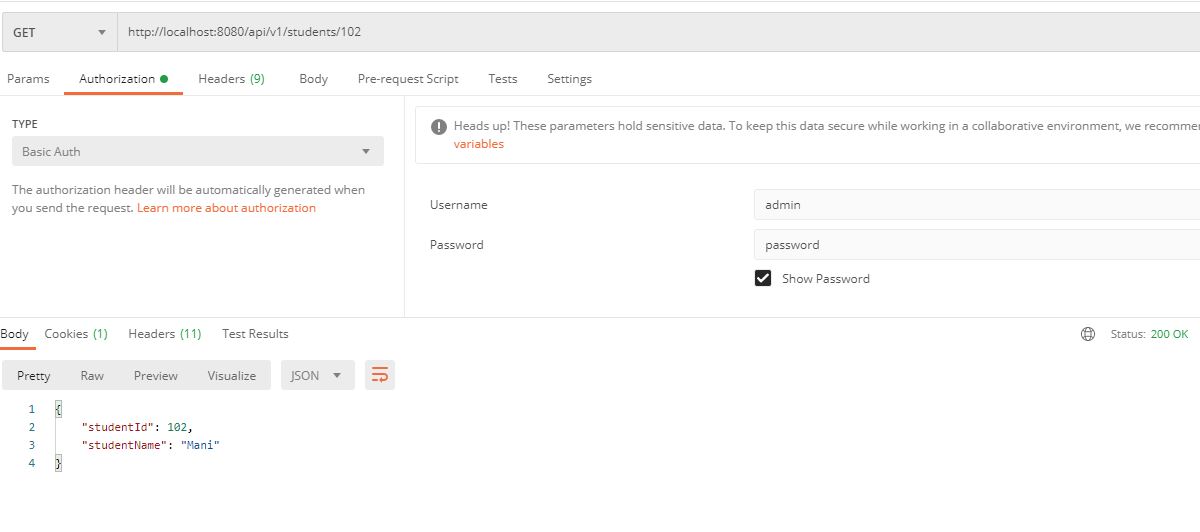
Forbidden Access
ApplicationSecurityConfig.java
@Configuration
@EnableWebSecurity
public class ApplicationSecurityConfig extends WebSecurityConfigurerAdapter {
.
.

    @Override
    @Bean
    protected UserDetailsService userDetailsService() {
        UserDetails adminUsrBuilder = User.builder()
                .username("admin")
                .password(this.passwordEncoder.encode("password"))
                .roles("ADMIN")
                .build();

        UserDetails regularUsrBuilder = User.builder()
                .username("user")
                .password(this.passwordEncoder.encode("password"))
                .roles("USER")
                .build();

        return new InMemoryUserDetailsManager(adminUsrBuilder, regularUsrBuilder);
    }

    @Override
    protected void configure(HttpSecurity httpSecurity) throws Exception{
        httpSecurity.csrf().disable()
                     .authorizeRequests()
                     //Whitelisting URLS
                    .antMatchers("/", "index", "/css/*", "/js/*").permitAll()
                    .antMatchers(HttpMethod.GET,"/api/**").permitAll()
                    .antMatchers(HttpMethod.DELETE,"/api/**").hasRole("ADMIN")
                    .antMatchers(HttpMethod.PUT,"/api/**").hasRole("ADMIN")
                    .antMatchers(HttpMethod.POST,"/api/**").hasRole("ADMIN")
                    .anyRequest()
                    .authenticated()
                    .and()
                    .httpBasic();
    }
}
- In the above piece of code we have defined two roles ADMIN and USER
- Those with USER role can access the API with HTTP Get Method. That means both ADMIN and USER role could access all the API using GET method
.
.antMatchers(HttpMethod.GET,"/api/**").permitAll()
.
-
Those with ADMIN role can access the API with HTTP POST, DELETE and PUT Method which corresponds to Create, Delete and Update as per Open API Specifiaction.
.
.antMatchers(HttpMethod.DELETE,"/api/**").hasRole("ADMIN")
.antMatchers(HttpMethod.PUT,"/api/**").hasRole("ADMIN")
.antMatchers(HttpMethod.POST,"/api/**").hasRole("ADMIN")
.
- The above could be cross checked by changing postman call with HttpMethods and Credentials
StudentsService.java
@RestController
@RequestMapping("/api/v1/students")
public class StudentsService {
    @Autowired
    StudentRepo studentRepo;

    @GetMapping(path="{studentId}")
    public Student getStudentById(@PathVariable("studentId") String studentId){
        return studentRepo.getStudentById(studentId);
    }

    @GetMapping
    public List<Student> getStudentList(){
        return studentRepo.getStudentsList();
    }

    @PutMapping
    public String updateStudent(@RequestBody Student student){
        return studentRepo.updateStudent(student);
    }

    @PostMapping
    public String addStudent(@RequestBody Student student){
        if(studentRepo.addStudents(student))
            return  "Student with Id " + student.getStudentId() + " added successfully";
        else
            return  "Error:Unable to create Student";
    }

    @DeleteMapping(path="{studentId}")
    public String deleteStudent(@PathVariable("studentId") String studentId){
        studentRepo.deleteStudent(studentId);
        return "Student Deleted Successfully";
    }
}
- In the below code instead of using ROLES to authorize users to do something we use AUTHORITIES to allow user
- There are two ways to do this. One is by using hasAuthority in configure(HttpSecurity httpSecurity) method as below
-
.
@EnableGlobalMethodSecurity(prePostEnabled = true)
.
.antMatchers(HttpMethod.POST,"/api/v1/students/").hasAuthority("WRITE")
.antMatchers(HttpMethod.DELETE,"/api/v1/students/**").hasAuthority("WRITE")
.antMatchers(HttpMethod.PUT,"/api/v1/students/").hasAuthority("WRITE")
.
- Other is by using @preauthorize annotation to decide the methods
which could be allowed access to
.
.
@PreAuthorize("hasAuthority('READ')")
public List getStudentList(){
.

@PreAuthorize("hasAuthority('WRITE')")
public String updateStudent(@RequestBody Student student){
.
.
ApplicationSecurityConfig.java
Using hasAuthority
@Configuration
@EnableWebSecurity
public class ApplicationSecurityConfig extends WebSecurityConfigurerAdapter {

    @Autowired
    private PasswordEncoder passwordEncoder;

    @Autowired
    public ApplicationSecurityConfig(PasswordEncoder passwordEncoder) {
        this.passwordEncoder = passwordEncoder;
    }

    @Override
    @Bean
    protected UserDetailsService userDetailsService() {
        GrantedAuthority[] arrGrantedAuthAdmin = {new SimpleGrantedAuthority("READ"), new SimpleGrantedAuthority("WRITE")};
        GrantedAuthority[] arrGrantedAuthUser = {new SimpleGrantedAuthority("READ")};

        UserDetails adminUsrBuilder = User.builder()
                .username("admin")
                .password(this.passwordEncoder.encode("password"))
                .authorities("READ", "WRITE")
                .build();

        UserDetails regularUsrBuilder = User.builder()
                .username("user")
                .password(this.passwordEncoder.encode("password"))
                .authorities("READ")
                .build();

        return new InMemoryUserDetailsManager(adminUsrBuilder, regularUsrBuilder);
    }

    @Override
    protected void configure(HttpSecurity httpSecurity) throws Exception{
        httpSecurity.csrf().disable()
                     .authorizeRequests()
                     .antMatchers("/", "index", "/css/*", "/js/*").permitAll()
                    .antMatchers(HttpMethod.POST,"/api/v1/students/").hasAuthority("WRITE")
                    .antMatchers(HttpMethod.DELETE,"/api/v1/students/**").hasAuthority("WRITE")
                    .antMatchers(HttpMethod.PUT,"/api/v1/students/").hasAuthority("WRITE")
                    .anyRequest()
                    .authenticated()
                    .and()
                    .httpBasic();
    }
}
ApplicationSecurityConfig.java
Using @PreAuthorize and EnableGlobalMethodSecurity
@Configuration
@EnableWebSecurity
@EnableGlobalMethodSecurity(prePostEnabled = true)
public class ApplicationSecurityConfig extends WebSecurityConfigurerAdapter {

    @Autowired
    private PasswordEncoder passwordEncoder;

    @Autowired
    public ApplicationSecurityConfig(PasswordEncoder passwordEncoder) {
        this.passwordEncoder = passwordEncoder;
    }

    @Override
    @Bean
    protected UserDetailsService userDetailsService() {
        GrantedAuthority[] arrGrantedAuthAdmin = {new SimpleGrantedAuthority("READ"), new SimpleGrantedAuthority("WRITE")};
        GrantedAuthority[] arrGrantedAuthUser = {new SimpleGrantedAuthority("READ")};

        UserDetails adminUsrBuilder = User.builder()
                .username("admin")
                .password(this.passwordEncoder.encode("password"))
                .authorities("READ", "WRITE")
                .build();

        UserDetails regularUsrBuilder = User.builder()
                .username("user")
                .password(this.passwordEncoder.encode("password"))
                .authorities("READ")
                .build();

        return new InMemoryUserDetailsManager(adminUsrBuilder, regularUsrBuilder);
    }

    @Override
    protected void configure(HttpSecurity httpSecurity) throws Exception{
        httpSecurity.csrf().disable()
                     .authorizeRequests()
                    .antMatchers("/", "index", "/css/*", "/js/*").permitAll()
                    .anyRequest()
                    .authenticated()
                    .and()
                    .httpBasic();
    }
}
StudentsService.java
@RestController
@RequestMapping("/api/v1/students")
public class StudentsService {
    @Autowired
    StudentRepo studentRepo;

    @GetMapping(path="{studentId}")
    public Student getStudentById(@PathVariable("studentId") String studentId){
        return studentRepo.getStudentById(studentId);
    }

    @GetMapping
    @PreAuthorize("hasAuthority('READ')")
    public List<Student> getStudentList(){
        return studentRepo.getStudentsList();
    }

    @PutMapping
    @PreAuthorize("hasAuthority('WRITE')")
    public String updateStudent(@RequestBody Student student){
        return studentRepo.updateStudent(student);
    }

    @PostMapping
    @PreAuthorize("hasAuthority('WRITE')")
    public String addStudent(@RequestBody Student student){
        if(studentRepo.addStudents(student))
            return  "Student with Id " + student.getStudentId() + " added successfully";
        else
            return  "Error:Unable to create Student";
    }

    @DeleteMapping(path="{studentId}")
    @PreAuthorize("hasAuthority('WRITE')")
    public String deleteStudent(@PathVariable("studentId") String studentId){
        studentRepo.deleteStudent(studentId);
        return "Student Deleted Successfully";
    }
}
